Introduction
The Sounds Mirrors of Lade Pit are the result of a programme to develop an
aircraft early warning system before the advent of radar. I first heard about
them over ten years ago when I read an article in the Sunday Telegraph
magazine on Dungeness. I was intrigued and wanted to go and see them but never
got around to doing anything about it until last year. The sound mirrors are
on private land and not normally accessible to the public. On 17th August 2008
I attended a walk led by Dr Scarth, apparently the world’s expert on sound
mirrors, who told the fascinating story behind them.
Although the mirrors were able to detect aircraft with varying degrees of
success the research programme apparently had a lot of difficulty with noise
interference. Another problem was that as aircraft speed increased the mirrors
were no longer able to give an adequate advance warning. Finally, the research
programme that resulted in radar began to achieve better results and interest
in the sound mirrors evaporated.
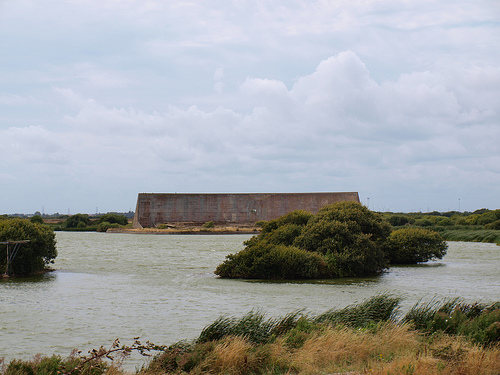
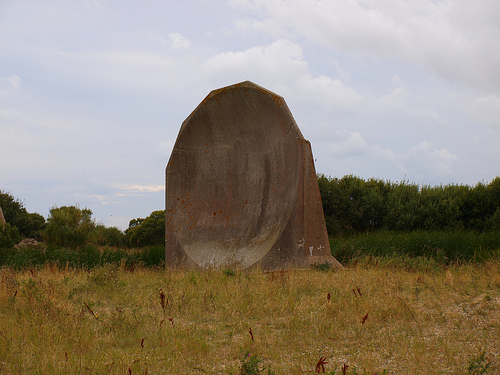
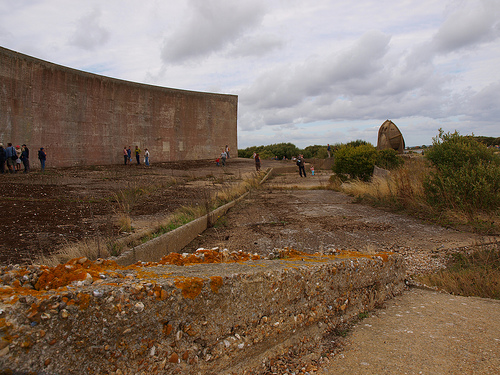
This is the view from the entrance to the land owned by CEMEX, only the 200’
mirror is visible. The lake is caused by gravel extraction and did not exist
at the time the mirrors were built.
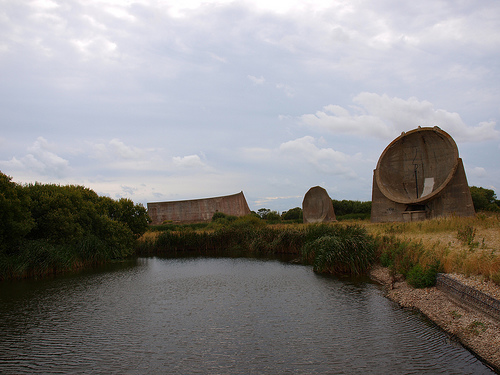
Mirror lake
This shows, from left to right, the 200 foot mirror, the 20 foot mirror and
the 30 foot mirror.
3 mirrors
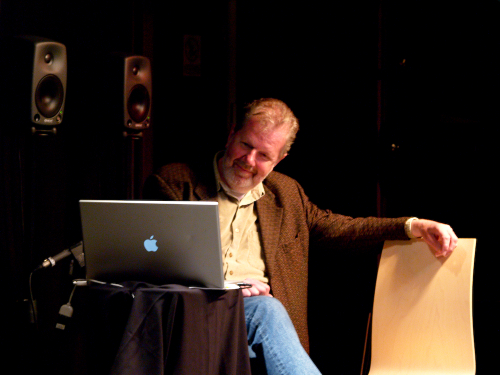
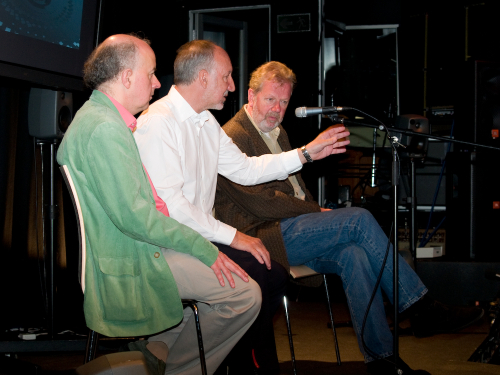
Dr. Scarth gave a short talk on the background behind the sound mirrors before
leading us towards the island where they are located.
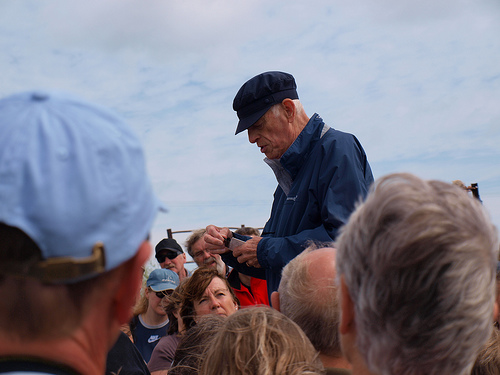
Dr. Scarth
In order to protect the sound mirrors from further vandalism access to the
island is only possible via a swing bridge that is normally locked in the open
position. A metal plaque is mounted on this bridge.
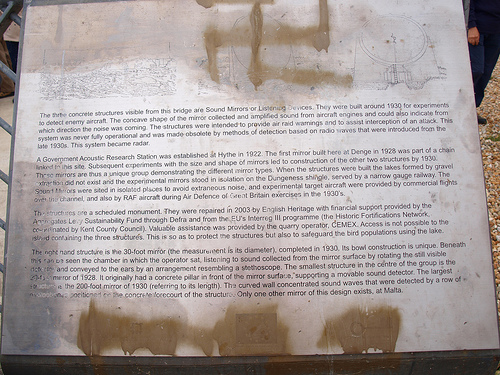
Plaque
The text on this plaque reads:
The three concrete structures visible from this bridge are Sound Mirrors or
Listening Devices. They were built around 1930 for experiments to detect enemy
aircraft. The concave shape of the mirror collected and amplified sound from
aircraft engines and could also indicate from which direction the noise was
coming. The structures were intended to provide air raid warnings and to
assist interception of an attack. This system was never fully operational and
was made obsolete by methods of detection based on radio waves there were
introduced from the late 1930s. This system became radar.
A Government Acoustic Research Station was established at Hythe in 1922. The
first mirror built here at Denge in 1928 was part of a chain linked to this
site. Subsequent experiments with the size and shape of mirrors let to the
construction of the other two structures here by 1930. These mirrors are thus
a unique group demonstrating the different mirror types. When the structures
were built the lakes formed by gravel extraction did not exist and the
experimental mirrors stood in isolation on the Dungeness shingle, served by a
narrow gauge railway. The Sound Mirrors were located in isolated places to
avoid extraneous noise, and experimental target aircraft were provided by
commercial flights over the channel, and also by RAF aircraft during Air
Defense of Great Britain exercises in the 1930s.
The structures are a scheduled monument. They were repaired in 2003 by
English Heritage with financial support provided by the Aggregates Levy
Sustainability Fund through Defra and from the EU’s Interreg III programme
(the Historic Fortifications Network co-ordinated by Kent County Council).
Valuable assistance was provided by the quarry operator, CEMEX. Access is not
possible to the island containing the three structures. This is to as to
protect the structures but also to safeguard the bird populations using the
lake.
The right hand structure is the 30-foot mirror (the measurement is the
diameter), completed in 1930. Its bowl construction is unique. Beneath this
can be seen the chamber in which the operator sat, listening to sound
collected from the mirror surface by rotating the still visible detector and
conveyed to the ears by an instrument resembling a stethoscope. The smallest
structure in the centre of the group is the 20-foot mirror of 1928. It
originally had a concrete pillar in front of the mirror surface, supporting a
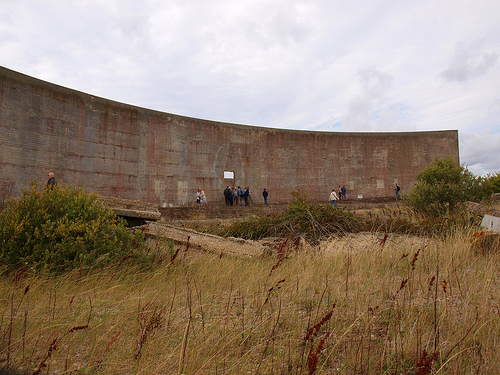
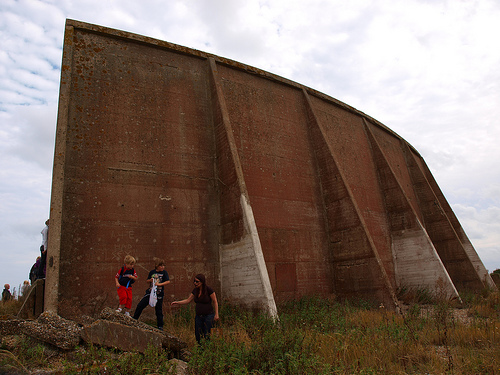
movable sound detector. The largest structure is the 200-foot miror of 1930
(referring to its length). The curved wall concentrated sound waves that were
detected by a row of microphones positioned on the concrete forecourt of the
structure. Only one other mirror of this design exists, at Malta.
There were, apparently, 261 people who attended this walk. The largest group
in the 11 years Dr. Scarth has been giving these talks.
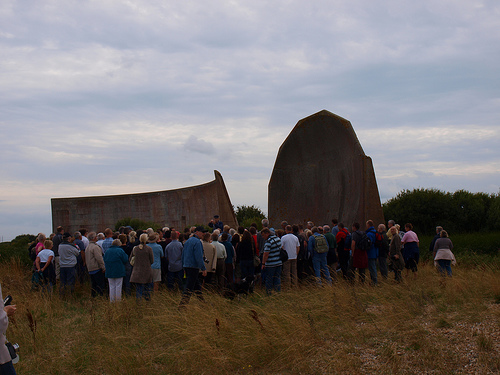
Crowd
20’ mirror
The 20’ mirror is the oldest, built in 1928, and also the least visually
interesting. According to the plaque there was originally a concrete pillar in
front of it on which was mounted the sound detection apparatus but I didn’t
notice any sign of it.
20’ mirror front
20’ mirror side
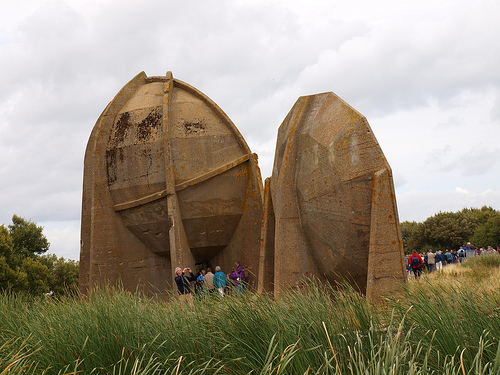
30’ and 20’ mirror backs
30’ mirror
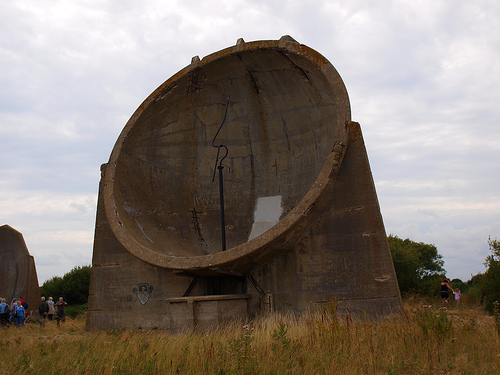
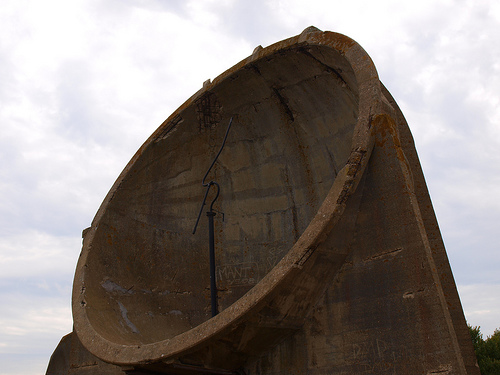
The 30’ mirror, built in 1930, is also the most well preserved. The operator
would sit in a cabin directly under the dish wearing an apparatus similar to a
stethoscope. The black pole with the oddly shaped tube (“trumpet”) on top is
the remains of the sound detection apparatus. Originally there were mechanical
linkages allowing the pole to be rotated and the “trumpet” to be rotated - the
operator would move the trumpet in order to get the strongest signal and the
position of the trumpet would give an indication of the direction the aircraft
was approaching from.
30’ mirror
30’ mirror 2
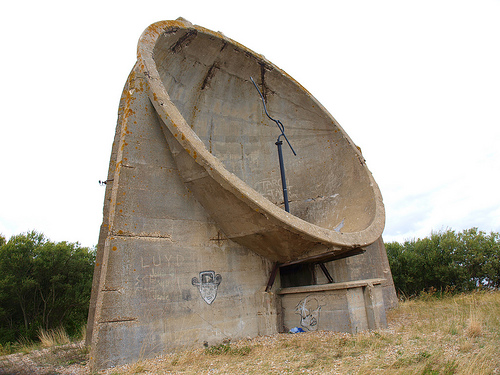
The box under the dish is the remains of the operator cabin. The wood and
glass forming the rest of the cabin has long since gone.
30’ mirror front side
30’ mirror side
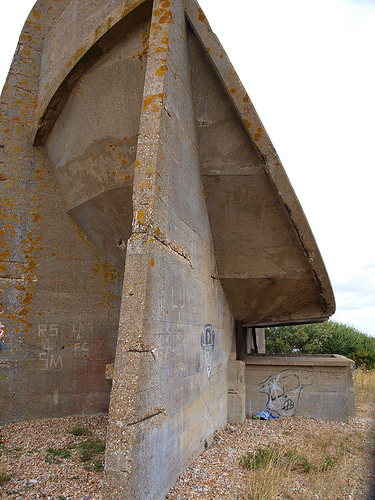
You can see that ground level has lowered since the mirrors were constructed
(due to gravel extraction?) since the top of these stairs would originally
have been at ground level.
30’ mirror control room stairs 1
Stairs at the back of the 30’ mirror leading down to the control room
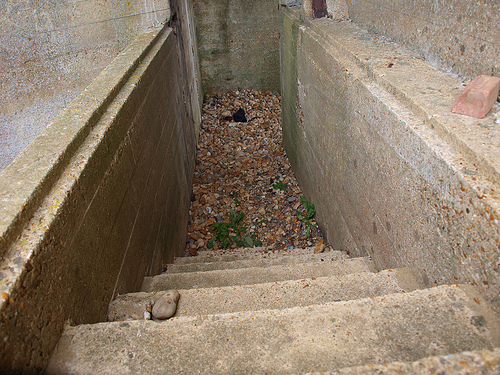
30’ mirror control room stairs 2
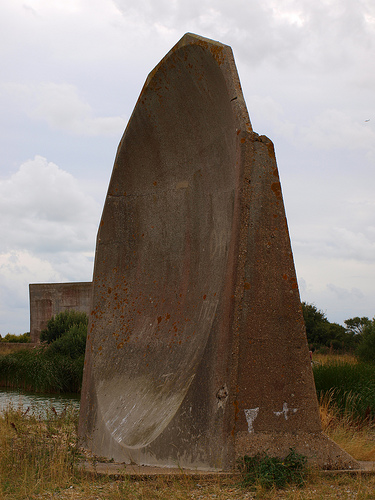
200’ mirror
While the 20’ and 30’ mirrors were purely acoustic, relying on tubes to
conduct the sound collected by the mirror to the operator the 200’ mirror used
an array of microphones placed in a forecourt in front of the mirror. Another
difference between the 200’ mirror and the others is that the smaller mirrors
relied on a steerable detector to find the direction from which the aircraft
were approaching, however the 200’ mirror found the direction of approach by
determining which of the microphones were giving the strongest signal.
Unfortunately a large amount of the front of the 200’ mirror has been reduced
to rubble. Apparently, the operator of the gravel pit extracted too much
gravel and undermined the front of the mirror causing it to collapse.
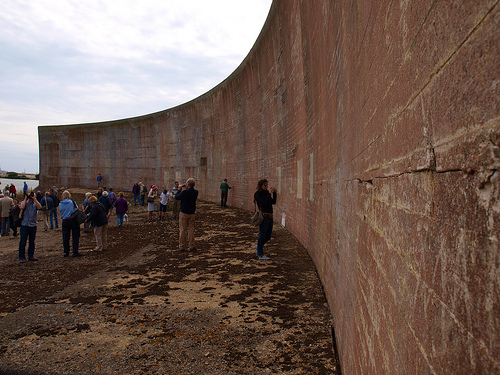
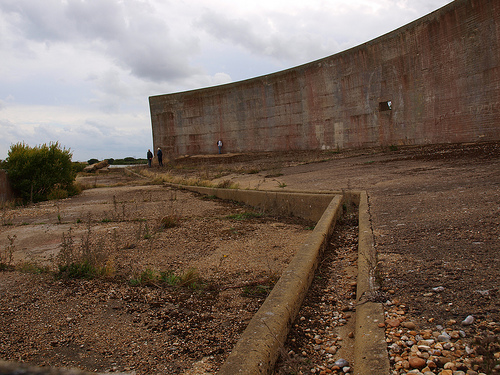
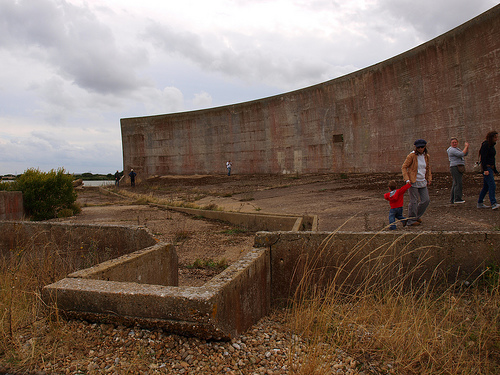
View along 200’ mirror
200’ mirror front 1
200’ mirror front 2
200’ mirror front right
This shows the 200’ mirror from the front. The stairs in the foreground would
originally have been at ground level. Unlike the other mirrors on this site
the 200’ mirror used microphones placed along a wall in front (I think along
the channel visible running from the stairs along the front of the mirror).
200’ mirror stairs
200’ mirror back
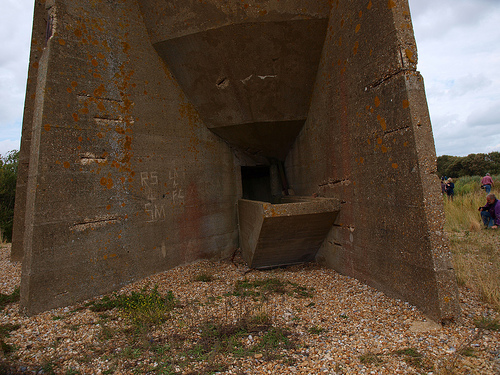
This image shows the remains of the 200’ mirror control room, located at the
back of the mirror. The rectangular hole would have originally contained glass
and was used to allow the operators to see in front of the mirror.
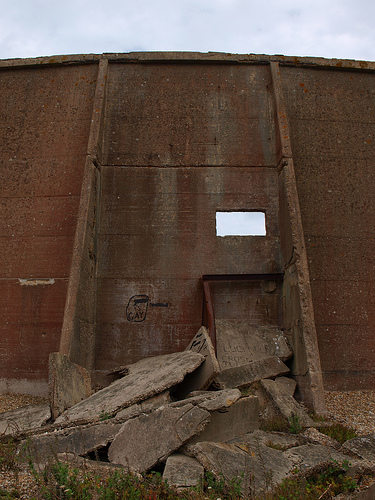
200’ mirror control room
More information
More photos of these sound mirrors and others around the country can be found
here on this website by Andrew
Grantham
Dr. Scarth also published two books on the sound mirrors (now out of print):
“Mirrors by the Sea: Account of the Hythe Sound Mirror System Based on
Contemporary Letters and Reports“ by
Richard Newton Scarth, published by Hythe Civic Society (April 1995). Also
“Echoes from the Sky: A Story of Acoustic Defence,”
Hythe Civic Society (Sep 1999).


