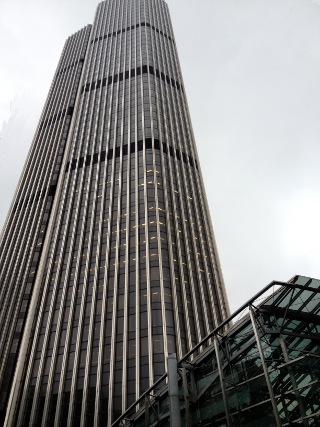
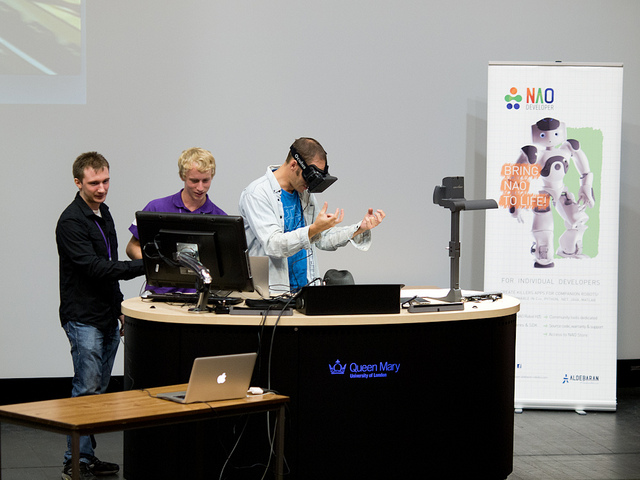
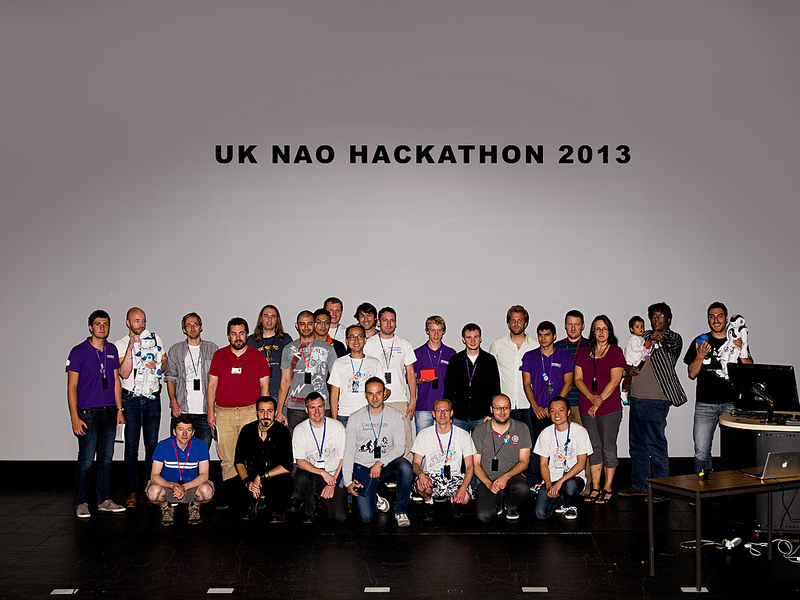
At 6pm on Friday 30th August at Queen Mary University London, the second
UKNAO London NAO hackathon kicked off.
We had 42 attendees from 6 countries (UK, France, Germany, Italy, Finland,
USA).
The Friday evening was to give everyone a chance to get to know one another
and form teams and so after registration, a welcome talk and a debate on
whether we want emotional robots the main focus of the evening was the social
event and buffet dinner at the Coborn Arms.
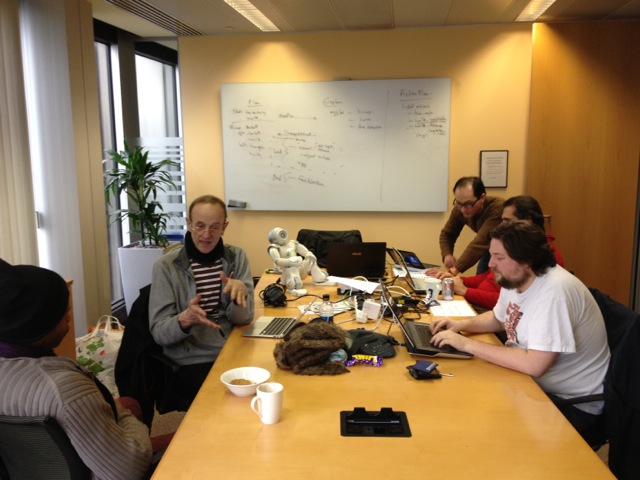
On Saturday morning hacking started. There were a number of optional breakout
sessions in the morning covering topics such as getting started with NAO
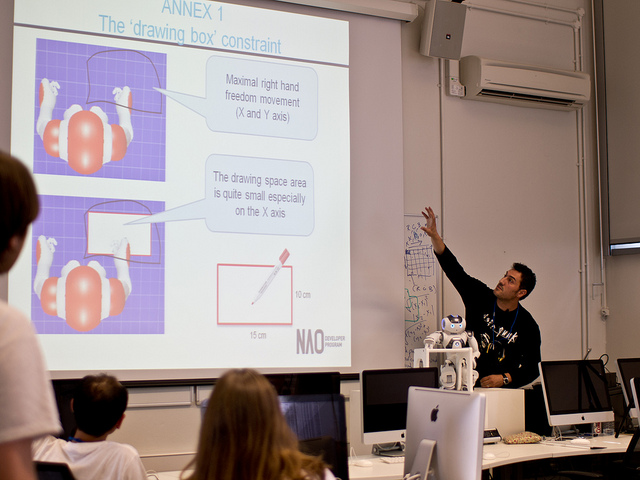
development and the Aldebaran ASK NAO autism program. One of the most prolific
NAO devlopers Franck Calzada, fron France, described how he implemented some
of his impressive applications in which NAO can write or draw.

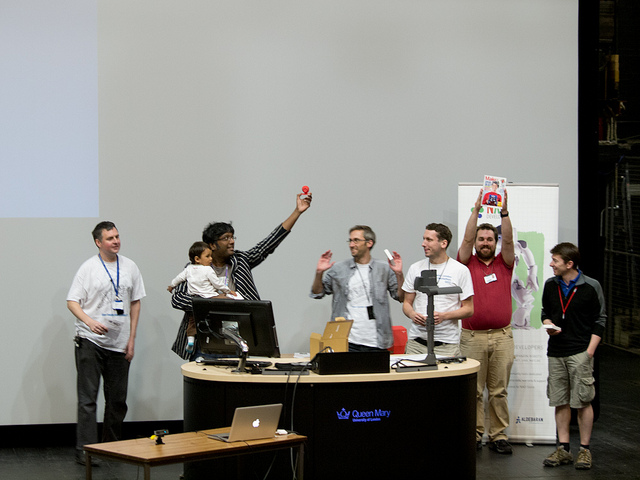
On Sunday afternoon it was demo time. This year we invited 34 members of the
public to come to QMUL’s Great Hall theatre space and vote on the winning
applications.
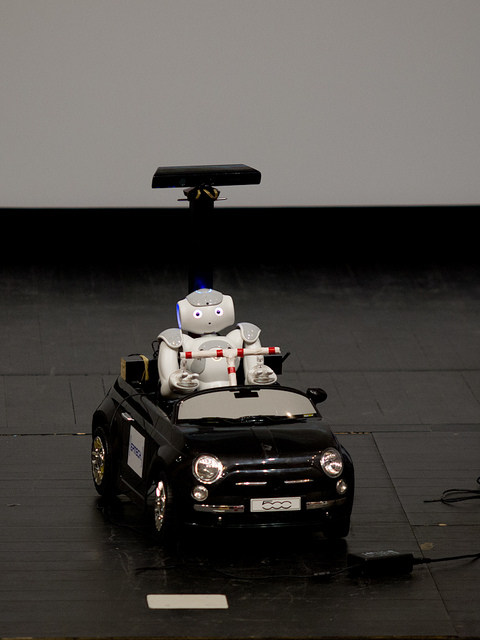
We were lucky to have the NAOCAR team come over
from France not only to participate in the hackathon but to demonstrate NAOCAR
not once, but twice: a technical demo to developers on Saturday evening and a
demo to the general public on Sudnay afternoon.
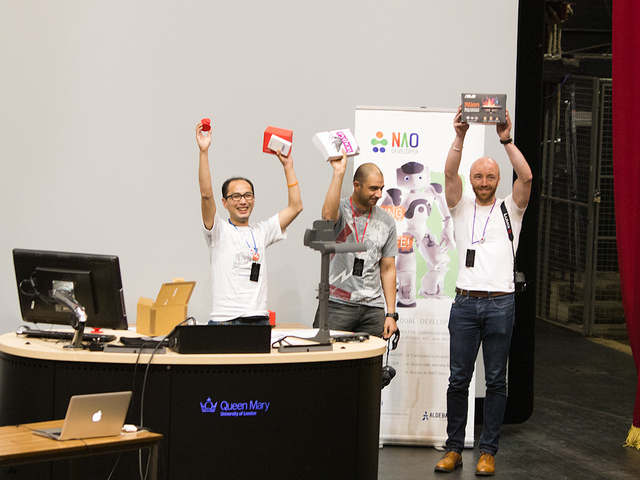
We had a selection of prizes including books and issues of MAKE magazine
generously provided by O’Reilly. Rather than having a set “1st prize” etc we
allowed the winning teams to pick the prizes they wanted. The team that came
first got to pick first and so on. Kok Ho Huen from QMUL also 3D-printed 1st,
2nd & 3rd place trophies using a 3D model of NAO’s head.
Prizes
- Asus Xtion
- Leap Motion controller
- 2x arduino starter kit
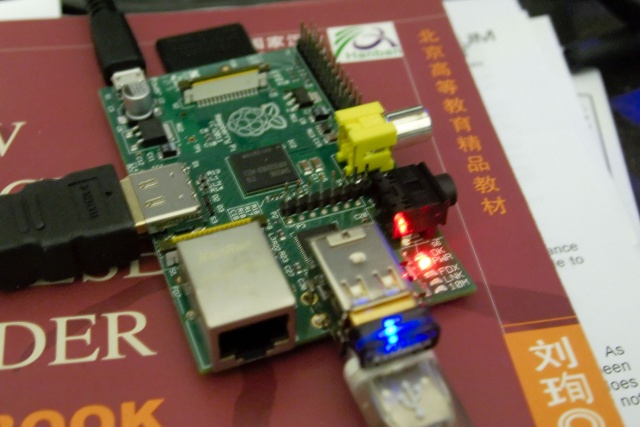
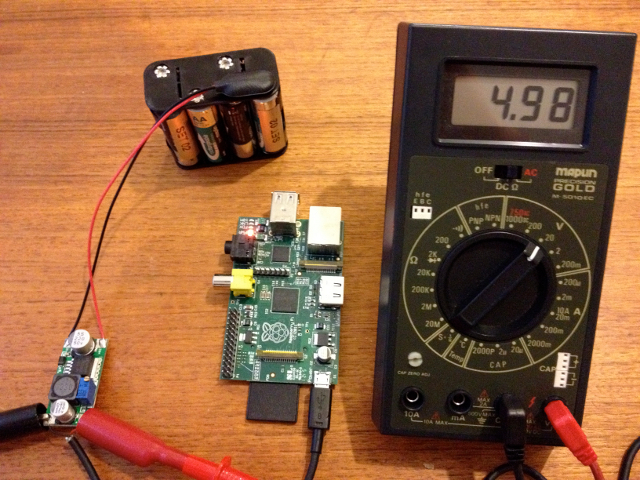
- 6x Raspberry Pi
- 4x O’Reilly books and 4 issues of MAKE magazine
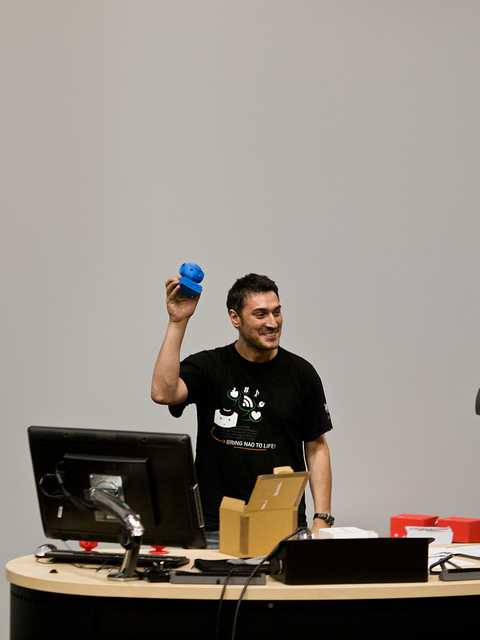
The winners were:
- 1st - Frank Calzada - NAO Maths Teacher
- 2nd - The Tickers (Mike McFarlane, Thomas Xavier, Thura Maung) Tickle Me NAO
- 3rd - Team Waffles (Chrisantha Fernando, Glen Searle, Matthieas Danzer, Matthias Dondorf, David Coulthard, Daniel Ecer) - “JOHN”
with runners up:
- 4th - NAOCAR (Gael du Plessix, Samuel Olivier, Loick Michard, Melvin Laplanche) - Touch me if you can
Photographic coverage throught the weekend was provided by Ghene Snowdon of
Snowdon Photography (www.gsnowdon.com). Photos from
the event can be found at: http://www.flickr.com/groups/uknao/